Cortex Identification
 Once the cerebrum, cerebellum, and brainstem have been labeled, the cerebral cortex can be extracted using the cortical modeling tool. The default parameters, as shown, will select the inner boundary of the cerebral cortex. Inspect the results visually to ensure that the expected surface has been produced; if not, change the
Once selected, this boundary can be processed to produce a topologically correct binary mask.
Parameters
- Tissue threshold
- The minimum percentage of white matter in a voxel needed for it to be included in the mask, in decimal form (e.g. 50% white matter = 0.5). Decreasing this value increases the number of voxels included in the mask; increasing this value decreases the number of voxels included in the mask.
- Include all areas labeled as subcortex as part of mask
- Occasionally, the inner cortex will exclude one or two of the lateral ventricles in its mask which may cause issues in later stages of processing, such as during SVReg. Select this option to include these areas.
Command-Line Usage
cortex: produces a cortical mask using tissue fraction estimates and a co-registered cerebellum/hemisphere mask.
usage: cortex -h hemi_label -o mask -f frac [optional settings]
example: cortex -h hemi.label.nii.gz -o mask.nii.gz -f frac.nii.gz -a
Required Settings:
| Flags | Description |
|---|---|
-h <label file> |
hemisphere / lobe label volume |
-o <mask file> |
output structure mask |
-f <fraction file> |
tissue fraction file (32-bit float) |
optional settings:
| Flags | Description |
|---|---|
-p <percentage> |
tissue fraction threshold (percentage) [default: 50] |
-w |
compute WM/GM boundary |
-g |
compute GM/CSF boundary |
-a |
include all subcortical areas in WM mask |
-v <verbosity> |
verbosity level [default: 1] |
--timer |
timing function |
Example Result
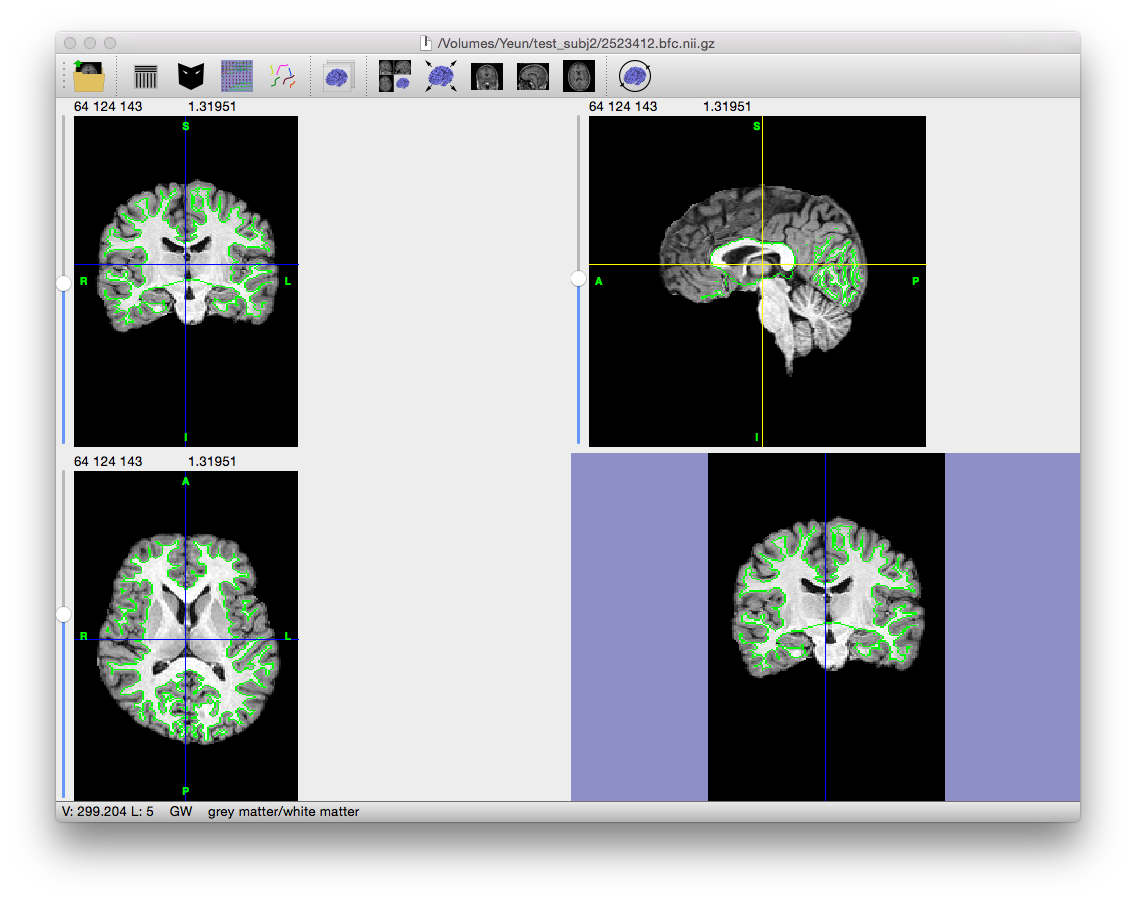 Click on the image to the left to get a larger view. Note that the edge of the mask is a bit jagged, probably as the result of noise and segmentation errors rather than actual anatomical features. The next few stages clean and remove these errors from the mask, making sure it provides a proper foundation for generating the inner cortical surface and eventually the pial surface.
Output File
If “save output of each stage automatically” is checked on the Cortical Surface Extraction dialog, the following file is generated (where filename_prefix is the filename of the MRI scan without the file extension, e.g. “testsubj” for the file “testsubj.nii”):
| Filename | Contents |
|---|---|
| filename_prefix.init.cortex.mask.nii.gz | Mask representing the inner cortical boundary (boundary between white matter and cortical grey matter). |
Restore from Previous Session
If BrainSuite was interrupted while performing this stage or to change the parameters for this stage and rerun after fully processing a scan, click “Restore From Previous…” on the bottom of this stage’s dialog box and load the original MRI scan. BrainSuite will automatically load all of the files generated in previous stages, allowing processing to restart from this intermediate stage.