Split Hemispheres
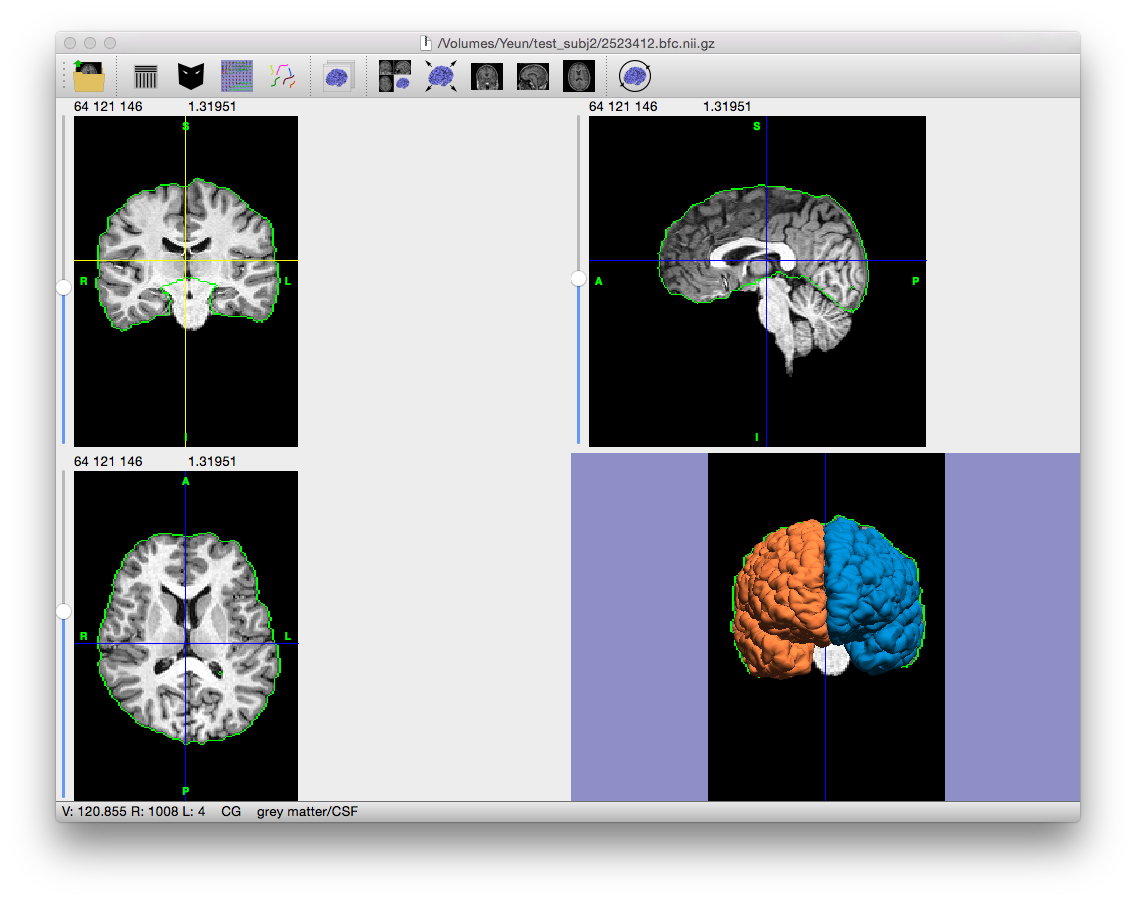
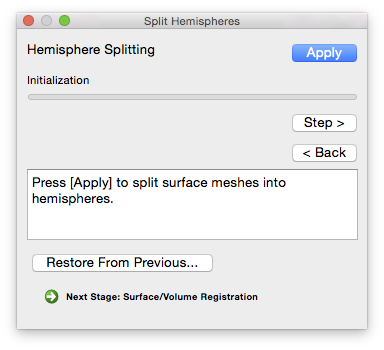 This step will separate both the inner and pial surfaces into left and right hemispheres, based on the hemispheric labeling produced during the cerebrum labeling procedure. The cortical surface will be hidden, and the left and right pial surfaces will be displayed in different colors.
Command-Line Usage
hemisplit: Splits a surface object into two separate surfaces given an input label volume. Each vertex is labeled left or right based on the labels being odd (left) or even (right). The largest contour on the split surface is then found and used as the separation between left and right.
usage: hemisplit -i input -l labelvolume –left left_output –right right_output [optional settings]
example: hemisplit -i input_surf.dfs -l label.nii.gz –left left.pial.dfs –right.pial.dfs
Required Settings:
| Flags | Description |
|---|---|
-i <surface> |
input surface |
-l <volume> |
input hemisphere label volume |
--left <surface> |
output surface file, left hemisphere |
--right <surface> |
output surface file, right hemisphere |
Optional Settings:
| Flags | Description |
|---|---|
-p <input_pial_surface> |
pial surface file—must have same geometry as input surface |
-pl <surface> |
output pial surface file, left hemisphere |
-pr <surface> |
output pial surface file, right hemisphere |
-v <level> |
verbosity (0 = silent) [default: 1] |
--timer |
timing function |
Example Result
Output Files
If “save output of each stage automatically” is checked on the Cortical Surface Extraction dialog, the following files are generated (where filename_prefix is the filename of the MRI scan without the file extension, e.g. “testsubj” for the file “testsubj.nii”):
| Filename | Contents |
|---|---|
| filename_prefix.left.inner.cortex.dfs | Left hemisphere’s inner cortical boundary surface |
| filename_prefix.left.pial.cortex.dfs | Left hemisphere’s pial surface |
| filename_prefix.right.inner.cortex.dfs | Right hemisphere’s inner cortical boundary surface |
| filename_prefix.right.pial.cortex.dfs | Right hemisphere’s pial cortical surface |
Restore from Previous Session
If BrainSuite was interrupted while performing this stage or to change the parameters for this stage and rerun after fully processing a scan, click “Restore From Previous…” on the bottom of this stage’s dialog box and load the original MRI scan. BrainSuite will automatically load all of the files generated in previous stages, allowing processing to restart from this intermediate stage.