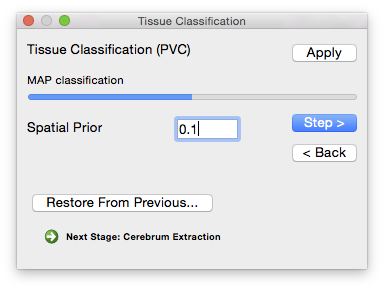
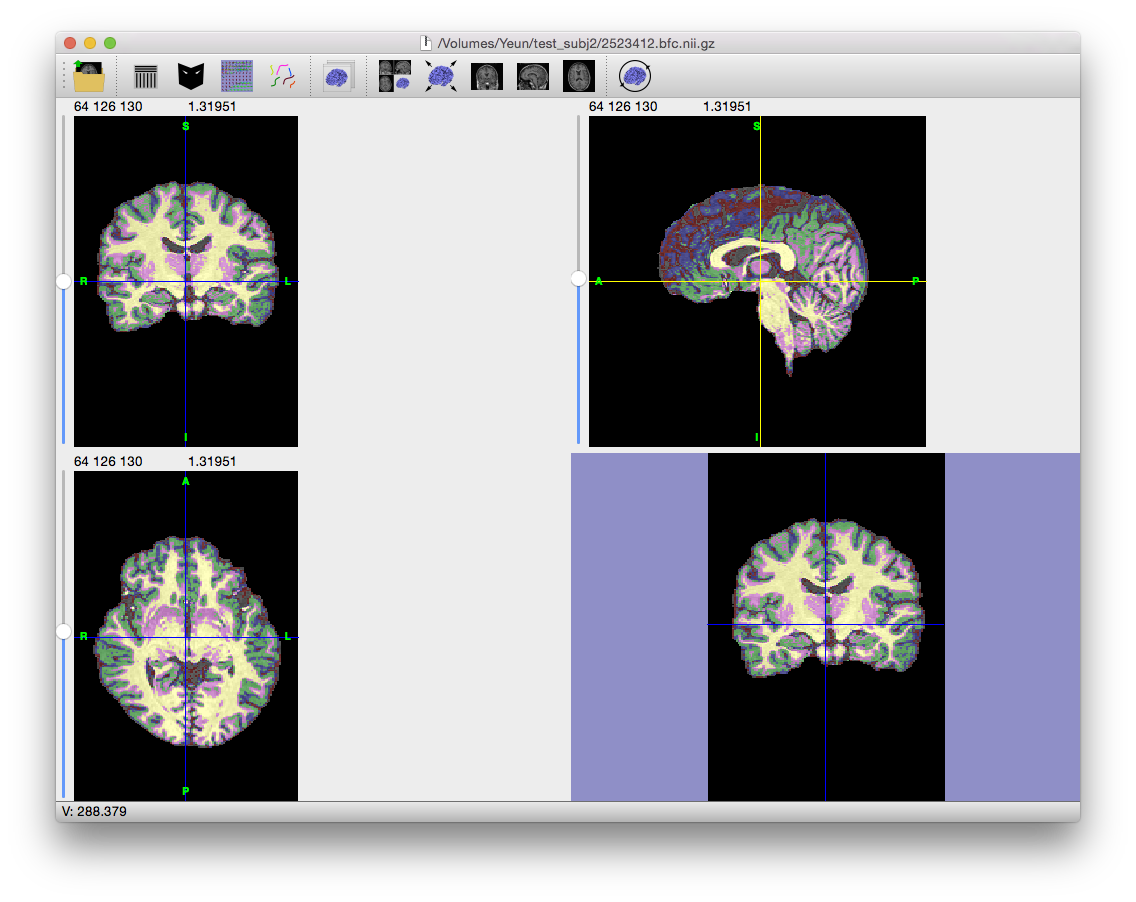
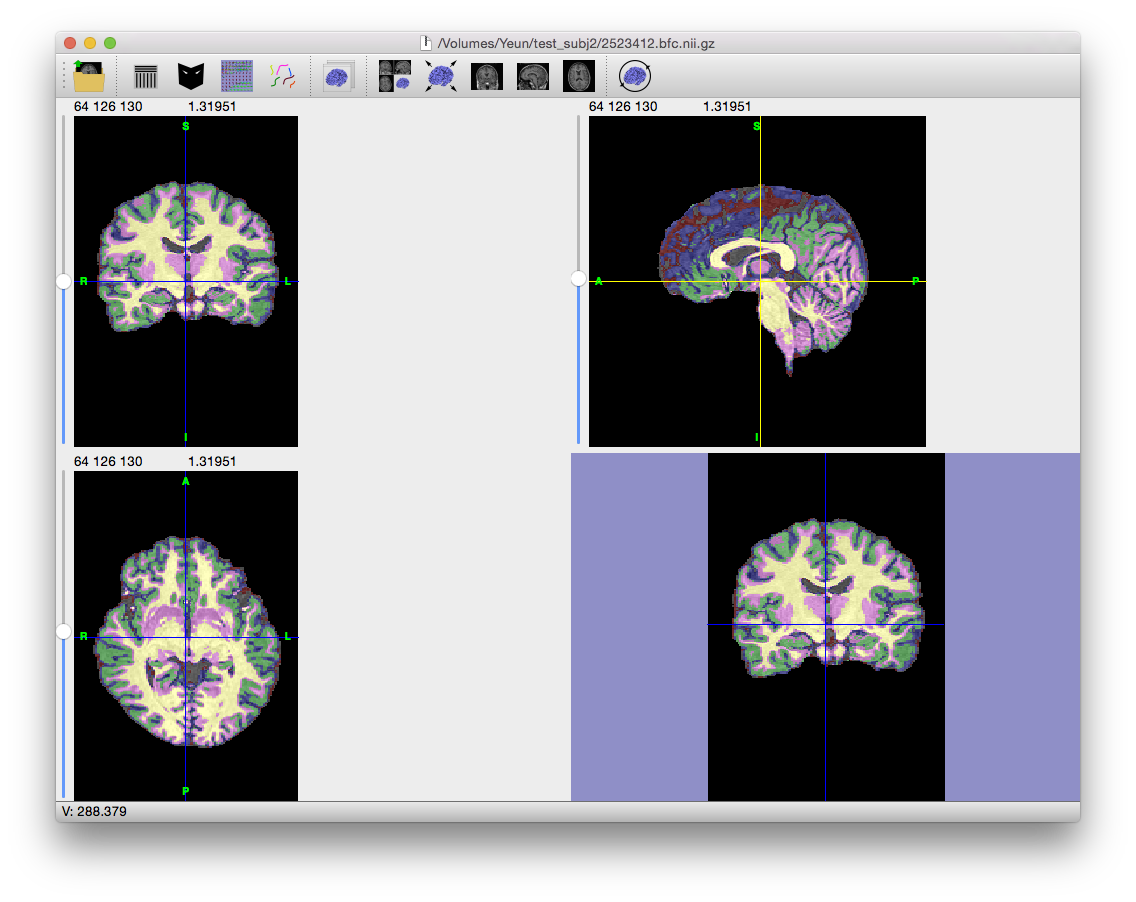
Tissue Classification
 The next step in the BrainSuite Cortical Surface Extraction sequence is tissue classification, which is performed by the Partial Volume Classifier (PVC). This process assigns an integer tissue label to each voxel in the image. These labels correspond to the type of tissue that is estimated to be in that voxel. PVC accounts for background voxels, cerebrospinal fluid, grey matter, and white matter. It also labels voxels that are composed of combinations of these voxels.
The PVC algorithm uses the same partial volume measurement model that was used for the bias field correction. However, it removes the spatially varying gain component since that is assumed to have been corrected by BFC. It does, however, include a spatial structural prior. This prior models the brain as a set of piecewise continuous regions of single tissue types, bounded by partial volume combinations, and it encourages neighborhoods of voxels to be similar. The influence of this prior is controlled by the Spatial Prior parameter.
Steps
Initialization
 The Initialization step performs a maximum-likelihood estimate of the tissues present in the image based on the partial volume measurement model.
MAP Classification

The MAP classification step iterates to find a solution to the maximum a posteriori classifier that incorporates the partial volume measurement model with the spatial prior.
Parameters
Spatial Prior The spatial prior can be adjusted to reduce its influence, which can be useful if the image has low signal-to-noise. Larger values will produce smoother contours in the tissue classification. If the value is too large, then the regions will be too smooth and the contours will not reflect the anatomy.
Command-Line Usage
usage: pvc -i input [optional settings]
example: pvc -i mri.nii.gz -o mri.pvc.label.nii.gz -f mri.frac.nii.gz
Required Settings:
| Flags | Description |
|---|---|
-i <input MRI> |
MRI file |
Optional Settings:
| Flags | Description |
|---|---|
-m <mask file> |
brain mask file |
-o <label file> |
output label file |
-f <fraction file> |
output tissue fraction file |
-l <lambda> |
spatial prior strength [default: 0.1] |
-v <level> |
verbosity level (0 = silent) [default: 1] |
--init <initfile> |
initialization file |
-3 |
use a three-class (CSF=0,GM=1,WM=2) labeling |
--timer |
time processing |
Notes:
Input MRI should be skull-stripped or a mask should be specified. Output tissue label volume is an 8-bit label file using the values: 0 (Background), 1 (CSF), 2 (GM), 3 (WM), 4 (GM/CSF), 5 (GM/WM), 6 (CSF/Other) Tissue fractions are saved as a 32-bit floating point volume: 0 (BKG) 1 (CSF) <-> 2 (GM) <-> 3 (WM)
Example Result
Output Files
| Filename | Contents |
|---|---|
| filename_prefix.pvc.frac.nii.gz | Label volume |
| filename_prefix.pvc.label.nii.gz | Label volume of tissue types. Contains labels for white matter, grey matter, CSF, and combinations of each. |