Quick Start: Extract a Brain
The Cortical Surface Extraction Sequence (CSE) is at the core of BrainSuite and an important first step in conducting many types of analysis. Given a T1-weighted MRI image, the CSE automatically skull-strips the image; classifies white matter, grey matter, and CSF; and generates 3D models of the inner cortical and pial surfaces.
The process is explained in detail in the Processing section of this site and in published articles, but the steps below will get you started using the software.
Automatic Processing Using GUI
- Open the T1-weighted scan in BrainSuite
After opening BrainSuite, you can load a scan a few different ways. If you’ve just started BrainSuite and the welcome screen is still visible, you can select “Open a 3D image file” under the “Actions” list or, if the file has been opened recently, by clicking on it under the “Recent Files” list.

Or via the menu bar, you can choose “File→Open Volume…” or “File→Recent Files” if the file has been opened recently.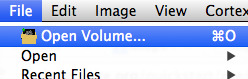
Finally, if you have the folder containing the file open in another window, you can simply drag the file onto BrainSuite’s window. This is especially useful for looking through several scans quickly.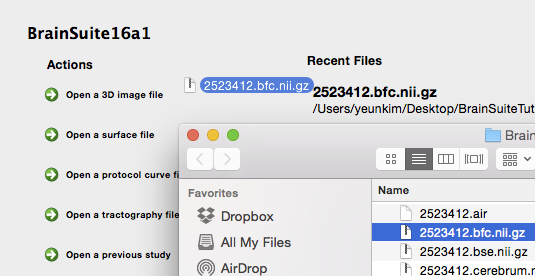
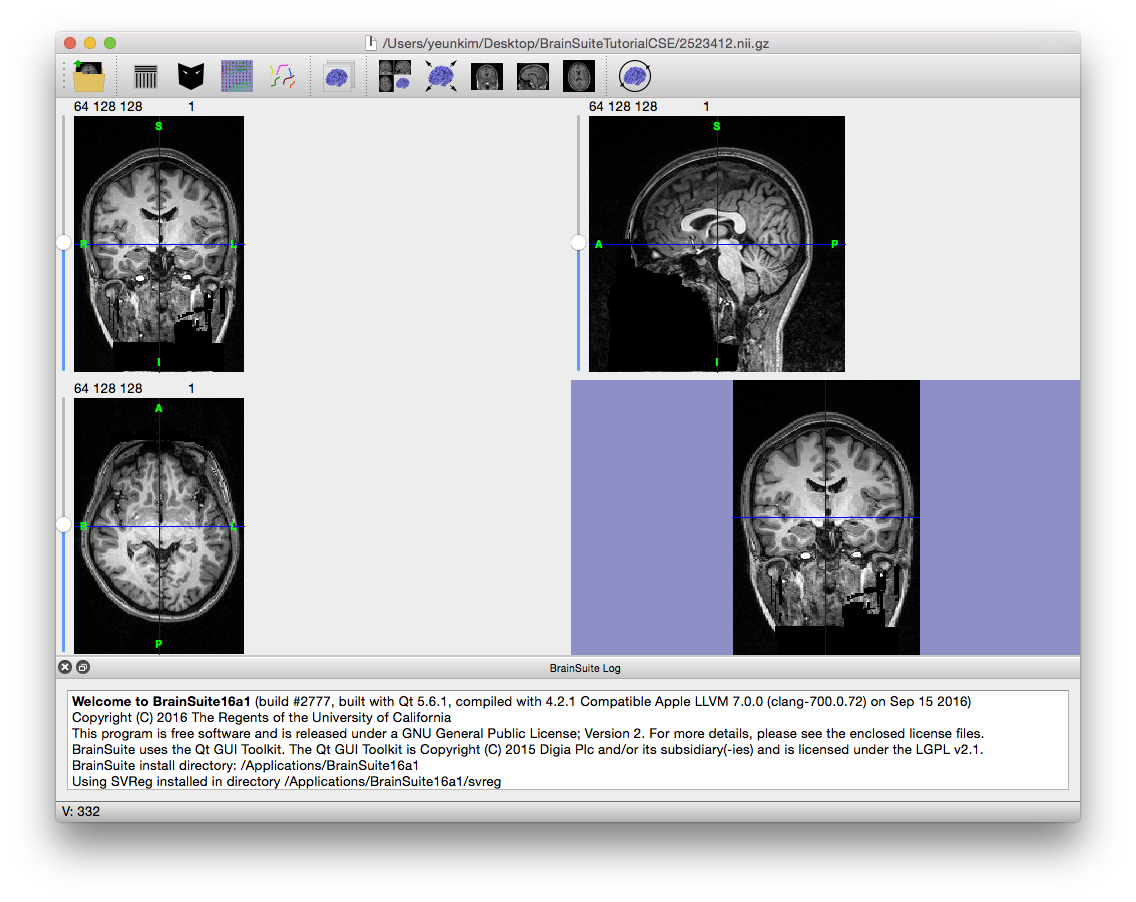
- Check the scan to make sure it is in the correct orientation
Some of the modules run by the CSE assume that the scan is oriented into LPI coordinates (-x points left / -y points posterior / -z points inferior). Thus, if you plan to run the full sequence, the scan should be oriented as in the image below:
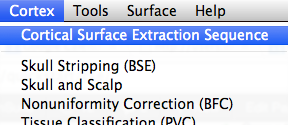
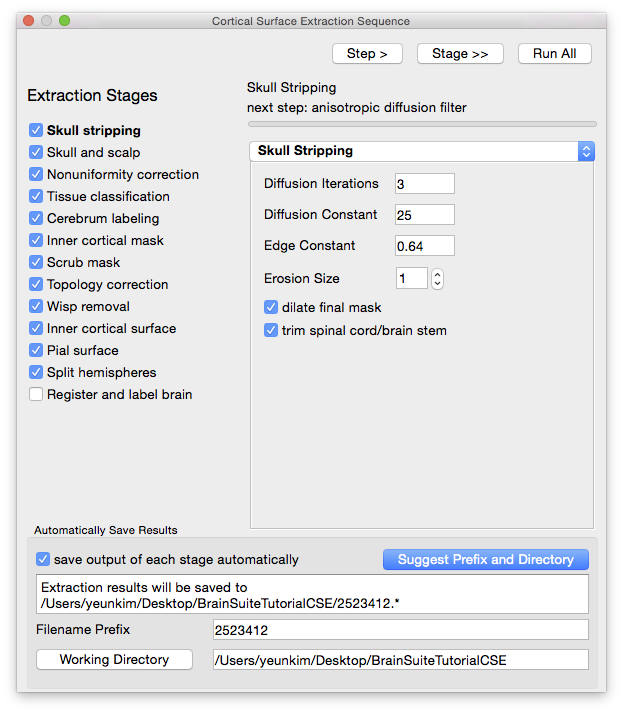
- Open the Cortical Surface Extraction Sequence dialog
- Make sure the boxes next to the stages you want to run are checked and click “Run All”
By default, all stages except “Register and label brain” are checked to run.
- When it’s finished, look over the results with BrainSuite
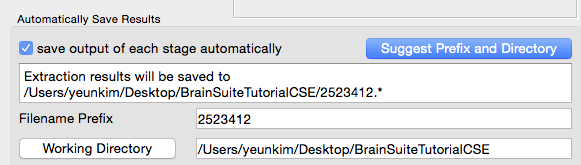
The skull-stripped image and pial surfaces generated by the CSE will be open in the viewer, ready to be looked over or used for further analysis. Furthermore, the files generated by the process will be in the folder containing the original scan (or a different folder, if you changed the “Working Directory” on the CSE dialog box).
Manual Processing Using GUI
If automatic processing using the default parameters produced poor results or you simply want to monitor the process and correct errors if they pop up, you can run the CSE interactively in manual mode. Follow steps 1–3 above to open the scan in BrainSuite and the CSE dialog box. Note that the dialog for the skull stripping stage opens with the CSE dialog, letting you adjust its parameters if you wish. Make sure that the stages you want to run are checked, then use the buttons on the top of the dialog to work your way through the sequence.

- Click “Step >” to perform the next step of the CSE (If a stage has only one step, this button is equivalent to hitting “Stage >>”)
- Click “Stage >>” to complete the current stage and open up the dialog for the following stage
The dialogs for each tool will open as you reach that stage, letting you adjust parameters as needed. When you reach the end, you’ll have the same files as if you ran the sequence automatically (as long as “save output of each stage automatically” is checked on the CSE dialog).
For more information on each stage and its parameters, look for its documentation page under Processing > Cortical Surface Extraction > Usage, or start here and work your way through each step using the links at the bottom of each page.